
Monday, November 25, 2013
Thursday, September 5, 2013
The 20's 30's 40's dress

I've been working on this dress or the last week it's been tricky at times and I still have the zipper to attach and to try and clip the collar and stitch it to get it to stay down. I am a bit worried that my bodice hangs too low on me I was going to take the shoulder seams in a little to raise it up but i think i will just add a little shoulder pad and a little self fabric belt if i have enough fabric leftover.
the inspiration : the colour is inpired by 1920's peach lingerie.
the frills around the neckline are inspired by the 1930's
and the horizontal pleats are inspired by the 1940's (and the whole fabric is covered in tiny pleats which is what making this dress a tad difficult!
Wednesday, September 4, 2013


Monday, September 2, 2013
free 1920's apron pattern
I've got quite few projects to show you, but the 60's top needs buttonholes and the burda dress needs the bias finished and the 50s/60/s stripe dress just needs some seams overcast. I will hopefully finish them all and take some photos soon.
what I can show you is my plans for making an apron for while I'm cleaning up. I overdyed some fabric that was cream with lime green checks with a black dye so I have a dark blue grey purple fabric with greenish checks and that's what's going to be used for this apron.
some potential patterns:


what I can show you is my plans for making an apron for while I'm cleaning up. I overdyed some fabric that was cream with lime green checks with a black dye so I have a dark blue grey purple fabric with greenish checks and that's what's going to be used for this apron.
some potential patterns:


Thursday, July 4, 2013
How to reinforce a slit on a skirt

This is the biggest problem I have with pencil skirts...I just rip the back split. Though be a few more out there who have the same issue and might find this tip helps.
here's another tip I just found from the 1930's:
use toilet paper for sewing slippery seams, just put the toilet paper between the fabric and the foot of the the machine.
Friday, May 31, 2013
Donna Karan Draped Skirt


Wednesday, May 15, 2013


Friday, May 10, 2013
Experimenting with Cording Foot

Tuesday, May 7, 2013
Bound Buttonholes- The First One


Well I thought I'd give bound buttholes ago finally...they are actually not too hard to make, but I wasn't happy with the uneven look of my first one so I am going to research and find some other methods incase I like them better.
I have also been working on the 1910's blouse, and it's been a real eye opener and I'm enjoying it, so far the fusible interfacing has worked well but it was really hard getting the collar stitched up. I have been using a pressing cloth and the iron on polyester setting (that seems to work well)
.JPG)
Monday, April 15, 2013

Thursday, April 4, 2013
Chloe- Label Love- Creating the perfect pussy-bow blouse

So lately I have been loving Chloe's blouses and their oversized pastel jackets...but first I noticed most of their lovely pussy-bow blouses in many shades of cream to peach are silk crepe de shine...well I can say I have never worked with anything like silk crepe de chine(still working on old cotton sheet fabrics!) but hopefully I can move up in the world and challenge myself to some silk....

Tuesday, March 26, 2013

Thursday, March 21, 2013
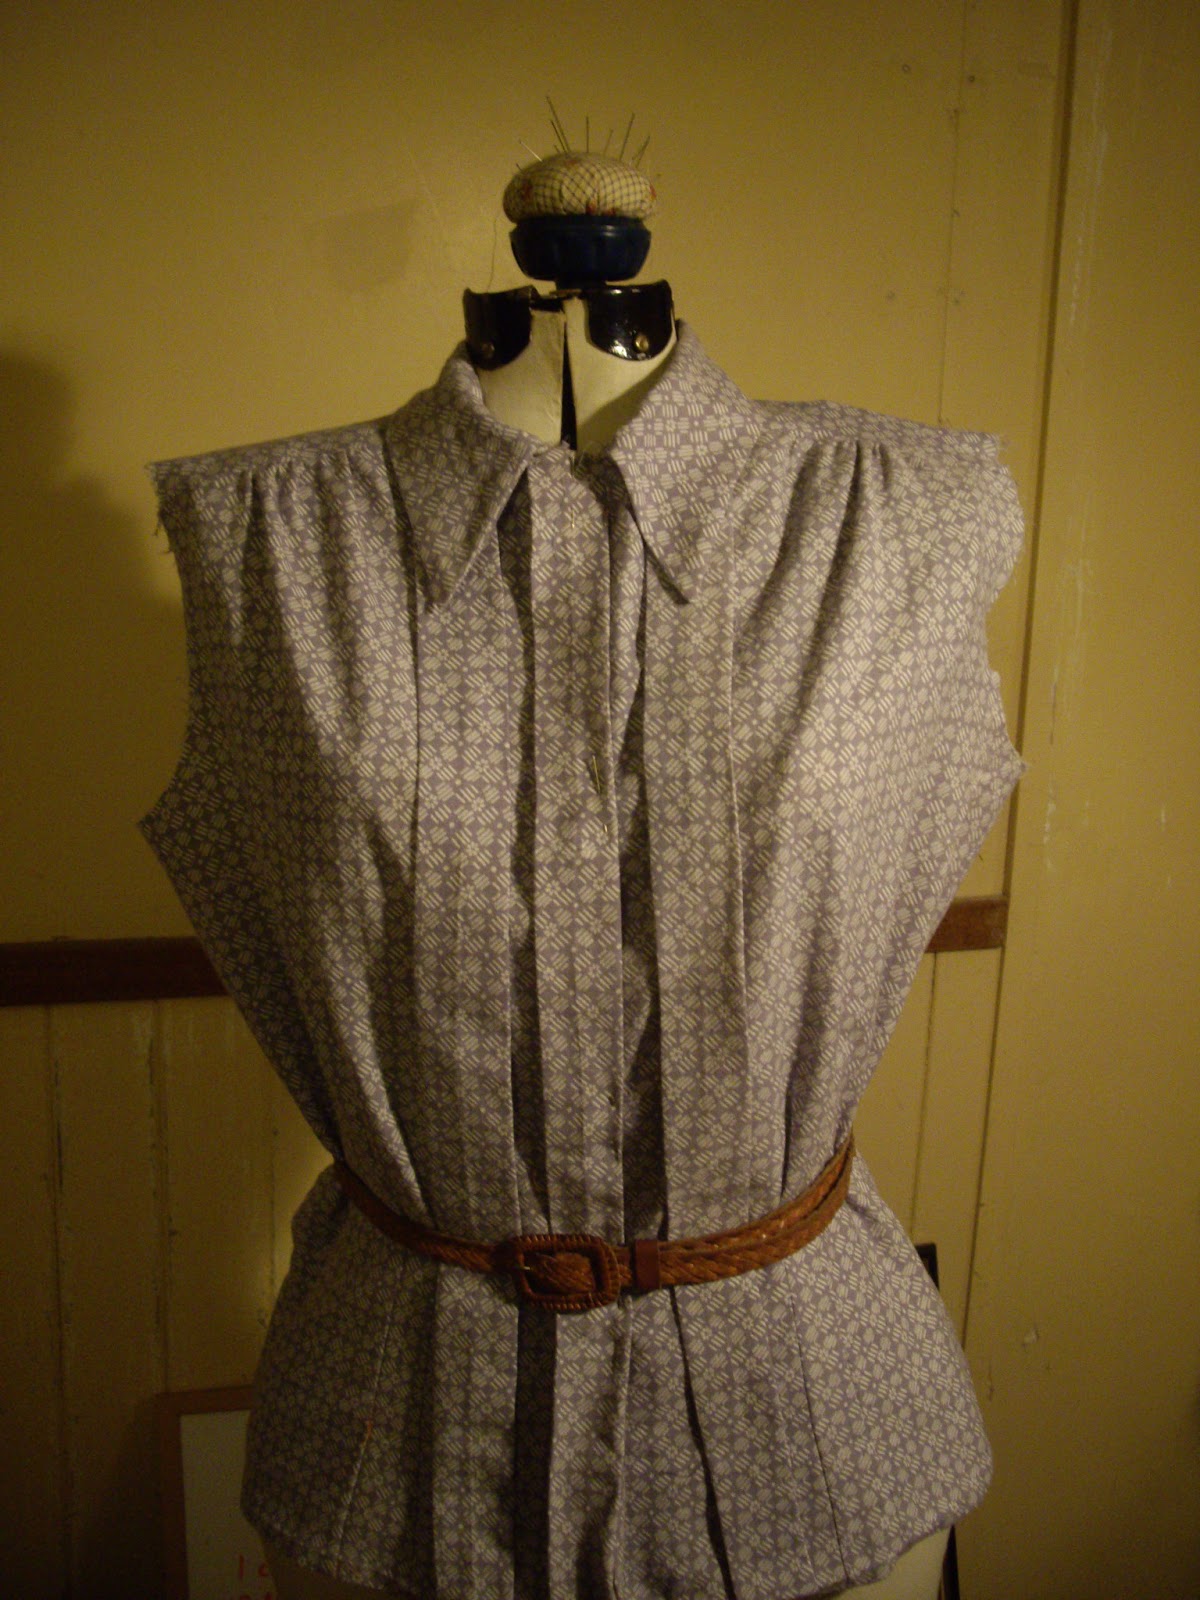
collar WIP- 1950's blouse- Simplicity 3661
Tuesday, March 19, 2013
1950's blouse- update-Simplicity 3661


 pattern bought here!(lovely service:-))
I bought this blouse pattern, with the hope it would sharpen my skills and give me a nice blouse to wear for autumn/winter. I decided to use an old bed sheet(yes I am that confident in my sewing abilities) just in case I stuffed it up, with the hope that I can overdye it using a much darker colour.
I'm pretty pleased so far...it's been a really nice solid pattern to sew apart from marking out all the pleats and gathers and tucks. The thing I would do better next time is my gathering skills...i just did the one row of gathering stitches instead of two...also because the sheet is an old one the pattern was really hard to get straight so i just gave up...next time hopefully I can get that spt on.
This pattern really needs to be made up in something sexy like a crepe, the cotton is just too stiff looking, I would love to try dyeing silk and making a blouse from this pattern, but alas..soooo expensive.
pattern bought here!(lovely service:-))
I bought this blouse pattern, with the hope it would sharpen my skills and give me a nice blouse to wear for autumn/winter. I decided to use an old bed sheet(yes I am that confident in my sewing abilities) just in case I stuffed it up, with the hope that I can overdye it using a much darker colour.
I'm pretty pleased so far...it's been a really nice solid pattern to sew apart from marking out all the pleats and gathers and tucks. The thing I would do better next time is my gathering skills...i just did the one row of gathering stitches instead of two...also because the sheet is an old one the pattern was really hard to get straight so i just gave up...next time hopefully I can get that spt on.
This pattern really needs to be made up in something sexy like a crepe, the cotton is just too stiff looking, I would love to try dyeing silk and making a blouse from this pattern, but alas..soooo expensive.
Monday, March 18, 2013
Free 1912 Embroidery Design
I was after a long skinny design that would work on decorative area of blouses I'm sewing, I thought this one was cute so here it is.

Sunday, March 17, 2013
1930's DIY Trimming

Make Your Own Trimmings


To make a 'box-pleated' ruche:— Cut the material on the exact straight twice the width you want the finished ruche to be. Fold over from both edges toward the middle, slightly lapping the cut edges in the centre. See diagram 2.
Form the pleats by folding first to the right and then to the left. Tack along the centre and then machine right down the middle if you want an even pleat each side, or if you want an uneven effect, stitch to one side of the centre line. See diagram 3
. A very pretty effect is given to ruching if after making the box-pleating, the edge of each pleat is caught up as shown in diagram 4.
Box-pleating makes a nice finish on the edges of collars and cuffs. To do the flat pleating, such as is best for this, cut the material on the exact cross way. Fold down the centre very evenly, making; the two cut edges quite even. Pleat first to riain and then to left, or you can make the pleats to be all one way if you prefer it.
Tack or stitch the pleats along one edge only. This edge is put to the collar outside edge and cuffs edge. The result is a nice stand-out effect.
GATHERED ruching is very lovely if made in silk such as taffeta. The edges of this should be frayed. To fray silk the material must be cut on the exact crossway. Allow three times the length you require the ruche to go on. Make any joins as neatly as possible. With the scissors or a blunt knife, gently drag the edge of the crossway silk.
You will find that one way of the material will fray oetter than the other, so always test a small piece oi the silk first, when you have one side frayed turn to the reverse side of the material to do the other side. Thus you would work on the right side of the silk to do one edge and you would work on the wrong side to do the other edge. Be sure to test the edges first on a small piece.
See diagram 5 for frayed runche.
Tuesday, March 12, 2013
Antique wedding dress details


 my mum and I went on a little road trip to a historic house and upstairs there she was...this beautiful wedding dress...fairly certain it is crepe silk...the last shot is of an amazing handmade quilt...love those neat stitches.
Sunday, January 20, 2013

Thursday, January 17, 2013


Subscribe to:
Posts (Atom)